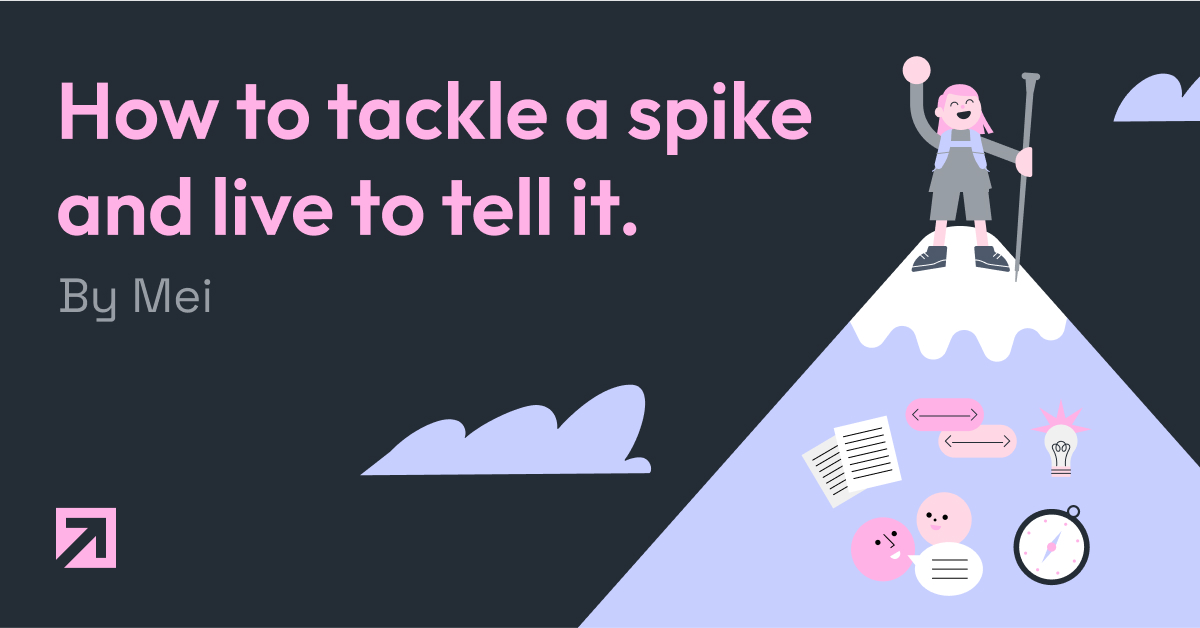
Imagine yourself as a new Software Developer, eager to tackle exciting challenges. Then comes your first Spike. It seems harmless at first—until you're buried in documentation, shady forums, and endless YouTube tutorials. And after all that suffering, in most of the cases, you have to make a decision that will impact your team. Panic.
This was exactly the situation I found myself in recently, facing my first Spike. Now, I’m here to share what I wish I had known before starting.
Let’s go for it!
First of all, what exactly is a Spike?
If you’re a recent developer or unfamiliar with Agile methodologies, you may be wondering: what is a Spike?
According to what Mike Cohn explains in his video “What is a Spike on Agile?”, “A Spike is an activity a team performs to get smarter about something. With a Spike, a team isn’t trying to immediately deliver a new capability, instead, they are building the knowledge that will allow them to deliver the new capability later”.
A Spike is focused on investigation. It could involve exploring a new tool, technology, architecture, or any topic relevant to the team and the project.
The goal of a Spike is to generate knowledge and reduce risks. For example, assuming you can use an API without proper investigation might result in useless code and wasted time (speaking from experience here 😅).
Even though you may be tempted to create a Spike for every single task, it’s important to practice moderation. A Spike requires a significant investment of time, and you certainly don’t need one to align a div.
A team may opt, for example, to use a Spike to explore whether an external service offers what is needed for a task to be completed, or to learn about the most recent updates on the framework they are working with.
What should I expect from it?
It’s important to have clear expectations about what a Spike can achieve, and it’s also important to recognize that the outcomes might not align with the team's expectations.
While the most common result is gaining knowledge about the investigation topic, this new information might lead to changes in plans or the need to consider alternative approaches to tackling an issue. As a team, it’s also crucial to be prepared for the possibility that the investigation could lead to a dead end.
Regardless of the outcome, remember that no amount of work can eliminate uncertainty, but reduce it. Work around this, make your best effort, and avoid wasting time!

Spike-ing Step by Step
First of all; define the scope
If you’re going to skip any step, this shouldn’t be the one. To stay organized and save time, it’s crucial to define exactly what needs to be done and how much time you’ll dedicate to it.
The most important aspect of this step is to fully understand what needs to be achieved and why. If you’re unclear on the goal, your investigation might end up being a waste of time.
As part of defining the scope, make sure to account for all possible edge cases. If there are additional documents with relevant information (such as user stories, designs, or acceptance criteria) don’t hesitate to consult them. It’s also a good idea to regroup with your team to discuss and validate all edge cases. This collaborative approach can help ensure nothing important is overlooked.
It is also necessary to set a specific timeframe for completing the task. While it might feel restrictive at first, starting without a defined time window often leads to inefficiency, either wasting time on irrelevant details or becoming overly perfectionist. In fact, this combination is the perfect recipe for turning a Spike into a never-ending task (this happened to a friend of mine, totally not me).
Based on what we’ve learned, here’s an example of how to apply this step:
-
Objective: learn about Product X and determine if it’s a good fit for solving Problem Y.
💡 In this step, you could list the Acceptance Criteria and the functionalities you’ll need the product to provide, among other details.
-
Scope: investigate the capabilities of Product X, test it in a development environment, and document the findings to make an informed decision on whether the team should use this tool or a different one.
-
Timeframe: the investigation and testing should take less than one week.
💡The task could be estimated as your preferred unit: story point, hours, etc.
So, before diving into the Spike, take the time to outline your plan and set a clear timeframe. This preparation will not only keep the investigation focused but also ensure that the results are aligned with the team’s goals.
Learn everything you can
Now it’s time to dive into the never-ending documentation.
My recommendation is to start with the official documentation of whatever you are investigating. This should be the most reliable source of information, theoretically. But in reality, it could lack clarity, be messy, or feel incomplete. Still, it’s essential to go through it to gain an initial understanding of the solution.
If the official documentation doesn’t provide what you need, you’ll have to embark on a side quest; finding alternative sources. Here, you’ll face two major challenges: knowing when to stop searching and avoiding unreliable sources.
You won’t be able to read all the blogs, browse every forum, watch every video, and follow every tutorial, and you shouldn’t want to. Your best strategy is (once again) setting a specific timeframe for this secondary investigation.
By now, you’ll already have some foundational knowledge from the official documentation. Use this to assess the trustworthiness of new sources by comparing what they say with what you already know. Avoid content that is confusing, repetitive, or too generic to be helpful.
By staying focused and filtering through the noise, you’ll gather enough reliable information to move forward with confidence. Remember, the goal isn’t to eliminate uncertainty but to reduce it.
Test your knowledge!
This step is strongly bonded to what you’re investigating; perhaps you are onto something that is not easy to translate into a tangible product. Regardless of whether you can build something with your new knowledge, you should find a way to test it.
The most straightforward approach is to create a prototype; a small functional application that implements what you’ve learned. For example, you could set up a Postman collection to test API endpoints.
Another option is designing flowcharts or diagrams to better understand and organize the problem and potential solutions. If your topic is more visual, creating mockups or wireframes can be a great way to explore ideas.
A powerful yet often overlooked method is discussing your findings with your team or an expert in the field. You might be missing something, and talking it through with others will likely give you a fresh perspective (find your rubber duck!).
Document your research
To demonstrate and share the value of your investigation, you’ll need to create a document that justifies the time you invested. This will be a powerful resource for answering the key questions raised at the start of the Spike (the ones we defined in step one).
A strong way to begin is with a summary of the problem, including what’s been discussed previously, what needs to be done, and the motivations behind the Spike.
Including a section that outlines the initial questions and the findings from your research helps ensure informed decision-making and prevents reliance on memory alone. Responses like “I don’t know” or “Further investigation is needed” are valid, but they shouldn’t stand alone—document what you found, and if possible, provide sources or definitions to guide whoever tackles the problem next.
Other useful sections to include are:
- API endpoints: if applicable, document the endpoints that can be used and their responses.
- Reliable sources: a list of trustworthy sources consulted during the research.
- Challenges & Roadblocks: any issues encountered that may be relevant for future work.
Lastly, don’t hesitate to format your document for readability. A Table of Contents, clear headings, and highlighted key concepts can go a long way in making your research easier to navigate and understand.
Share your findings with your team
Your research is only valuable if it reaches the people who need it. Sharing your findings with your team ensures that everyone benefits from the knowledge you’ve gathered, facilitates better decision-making, and prevents redundant work in the future.
There are several ways to do this:
- simply sharing the document,
- proposing a team meeting,
- designing a short presentation,
- creating and showcasing a demo
Lastly, be open to feedback! A Spike is about learning, and your findings might evolve as your team builds on them.
Conclusions
A Spike is a structured way to make important decisions about the product you are building. Being responsible for one means that your team trusts you to investigate and provide valuable insights, which can be both encouraging and intimidating.
To navigate this process successfully, organization is key. Defining a clear scope and setting a strict time frame will help you stay focused and avoid getting lost in endless research.
Consulting multiple sources is essential for making an informed decision. But remember; you don’t need to read everything. Stick to your timeline and optimize your efforts.
Testing what you’ve learned, whether by building a prototype, running experiments, or discussing with your team, can reveal hidden challenges and new perspectives.
Finally, thorough documentation ensures that your findings remain accessible, preventing knowledge loss and helping the team make well-informed decisions in the future.
By following these steps, you’ll not only tackle your first Spike, but you’ll come out of it with valuable insights and the confidence to face the next one.